
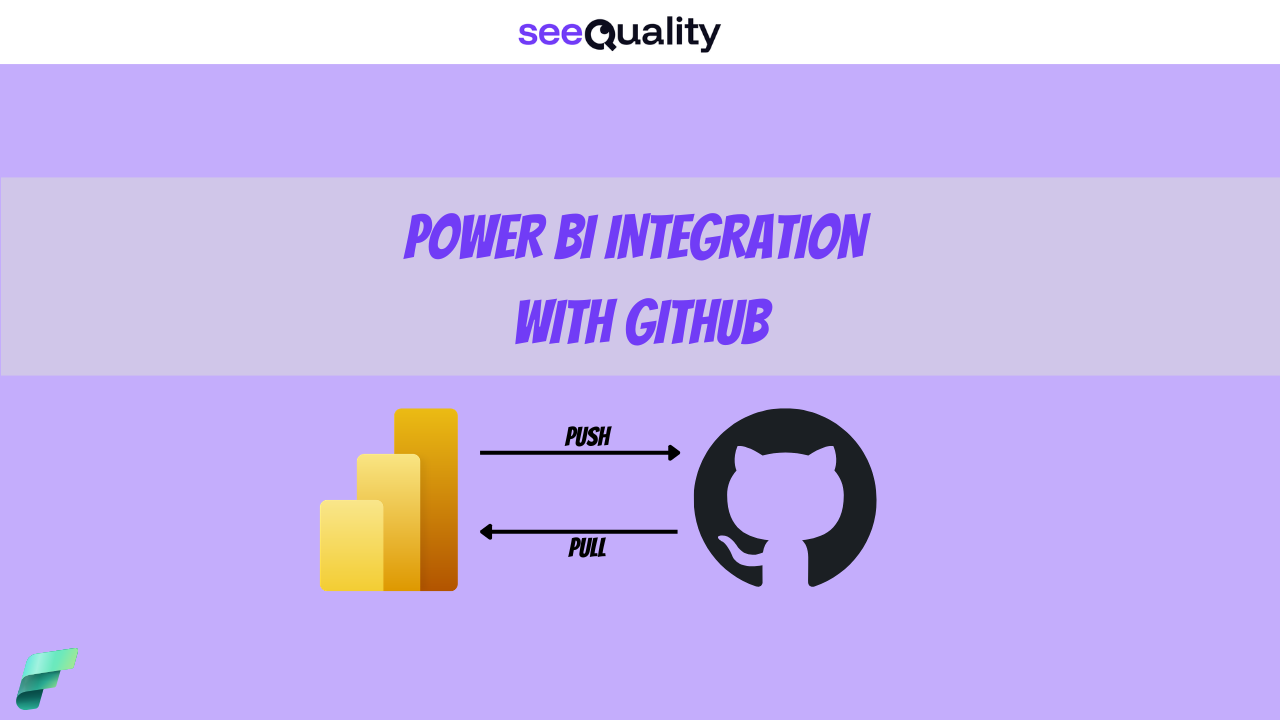
While Azure DevOps is usually the easiest choice for Microsoft users, connecting Power BI to GitHub is becoming a must-have skill for anyone using the new Power BI Project (.PBIP) format. Unlike the “plug-and-play” feel of Azure, the GitHub setup is a bit more manual and complex because you have to connect two different platforms yourself. However, this extra effort is worth it; since the PBIP format turns your reports into readable code, GitHub gives you much better ways to track changes and work together in teams. This intro explains how to handle that extra complexity so you can keep your files organized and professional.
Generating Personal Access Token
A Personal Access Token (PAT) is a secure authentication method used in place of a password when accessing GitHub repositories from external applications or services, such as Power BI. It functions as a unique, revocable token that grants specific permissions (scopes) to interact with your GitHub account and repositories. For connecting a Power BI workspace to Git, a PAT with at least the repo scope is required. To generate a Personal Access Token, log in to your GitHub account, click your profile icon in the top-right corner, and proceed as follows:

On the menu, locate the section called Developer settings:

In this section, you will find the option to generate a Personal Access Token. You can choose either Fine-grained tokens or Tokens (classic). Both types are supported for connecting to Power BI.

-
Fine-grained tokens (Recommended): These are more secure and modern tokens that allow granular control over permissions. You can restrict access to specific repositories and define precise scopes (e.g., only read or write access to contents).
-
Tokens (classic): These are the older, traditional tokens that provide broader access. They are simpler to create but less secure, as permissions usually apply across all repositories owned by the user.
For this purpose, select Fine-grained tokens. After choosing this option, click on Generate new token (usually located in the middle area of the screen):

For the token configuration, provide a meaningful name, for example:
powerbi-to-github-{developer_name}
Replace {developer_name} with your own name.
You can also add a clear description stating the purpose of the token. It is important to select Glamox-IT as the Resource owner (since the repository is owned by the Glamox-IT organization).
For the expiration date, select a period of 60 or 90 days. Please note that the token will expire after this period, and you will need to update the connection in the Power BI service with a new token. It is recommended to set a calendar reminder one day before the expiration date.

Following the principle of least privilege, grant access only to the minimum required repository. In this case, select designated repository where all Power BI artifacts should be stored.
The principle of least privilege is a security best practice that requires users and applications to be given only the minimum level of access necessary to perform their functions. This significantly reduces potential security risks.

In the next step, grant the required fine-grained permissions to the token by clicking Add permissions and selecting Contents from the dropdown menu.

After that, change the permission for Contents from Read-only to Read and write, then click Generate token.
The Metadata permission will be automatically added as a required dependency for the Contents permission.
Contents (Read and write) This permission allows Power BI to read and write files in the repository. It is the main permission needed for Git integration. With this access level, Power BI can:
- Pull (download) the latest versions of reports, datasets, and other artifacts from the repository.
- Push (upload/commit) changes made in Power BI back to the Git repository.
Create branches and manage version control operations.
Metadata (Read-only) This permission is automatically added by GitHub as a dependency when Contents permission is selected. It provides read-only access to repository metadata (such as repository name, branches, commit history, etc.). It does not allow any modification of the repository.

A new window appears with a summary of the token settings, where you must confirm by clicking the Generate token button.

Your token will be immediately added and you can copy it and save in secure store (Azure Key Vault, KeePass etc.):

Setting up Power BI Workspace
When the token is read, go to the Power BI service and open the Power BI workspace that you want to connect. In the top left corner, there is a Workspace settings option that you should click.

In the Workspace settings window, click the Git integration tab and select GitHub. If no connection to GitHub has been established, click the Add account button. If the GitHub button is greyed out, it must first be enabled in the tenant settings.

In the Add GitHub account window, you can provide the basic details required to connect to the repository.

Display name: Add a meaningful name for this connection here. It will be visible in the Power BI
-
service and can be reused across different workspaces.
Example:
connection-github-powerbi-repo
-
Personal access token: The token generated in the previous step.
-
Repository URL: The URL address of the target repository.
You can find this by opening the repository and clicking the Code button. From there, copy the HTTPS path.

Once everything is configured correctly, click Connect. The Power BI service will then synchronize with the repository:

Once the connection is established, select the main branch and the Git folder path. The folder should follow this format: workspaces/name-of-workspace.

The folder you are pointing to can be created by the Power BI service. A new window will appear where you must click Create and sync.

After a short time, the connection will be established. You can then pull your content into the Power BI workspace by using the Source control window and clicking the Sync (or refresh) button.

That’s all for now. I hope you find it useful 🙂

- Power BI Integration with GITHUB – March 31, 2026
- V-Order in Microsoft Fabric – what is that? – March 9, 2026
- Recovering dropped tables in Azure Databricks with UNDROP TABLE – February 26, 2026

Leave a Reply